How to Make Laptop Stickers: Easy DIY Guide
Laptop stickers are a fun and creative way to personalize your device, showcase your interests, or promote your brand. The best part? You don’t need to buy them—you can make them at home! In this guide, you’ll learn how to make laptop stickers step-by-step using simple tools and materials easily available online or in local stores.
Whether you’re designing stickers for business branding, gifting, or personal use, this DIY guide will help you create durable and vibrant laptop stickers effortlessly.
Why Make Your Own Laptop Stickers?
Before diving into the process of how to make laptop stickers, it’s helpful to know the advantages:
- Completely customizable
- Cost-effective
- Ideal for small businesses or personal projects
- Great for branding, aesthetics, or fun
- Easy to produce in small batches
Making stickers at home allows you to experiment with shapes, colors, and themes without any professional equipment.
Materials You Need
To start learning how to make laptop stickers, gather these essentials:
- Sticker paper (matte, glossy, or waterproof vinyl)
- Inkjet or laser printer
- Scissors or a craft cutting machine
- Design software (Canva, Photoshop, or any online editor)
- Clear laminate sheet (optional for durability)
These basic supplies ensure that your stickers come out vibrant and long-lasting.
Step 1: Design Your Sticker
The first step in How to Make Laptop Stickers is creating a design that suits your style. You can:
- Use design tools like Canva, Procreate, or Photoshop
- Download ready-made PNG designs
- Draw illustrations yourself
- Add text, quotes, icons, or brand logos
Ensure your design is high resolution (300 DPI) for crisp printing.
Step 2: Print the Stickers
Once your designs are ready:
- Load the sticker paper into your printer.
- Choose high-quality print settings.
- Print a small sample first to check color quality.
This step is essential in understanding to make laptop stickers that look professional and clean.
Step 3: Laminate for Extra Protection
To make your stickers water-resistant and scratch-proof, cover them with a clear laminate sheet. This optional step increases sticker durability, especially for laptops that experience daily wear.
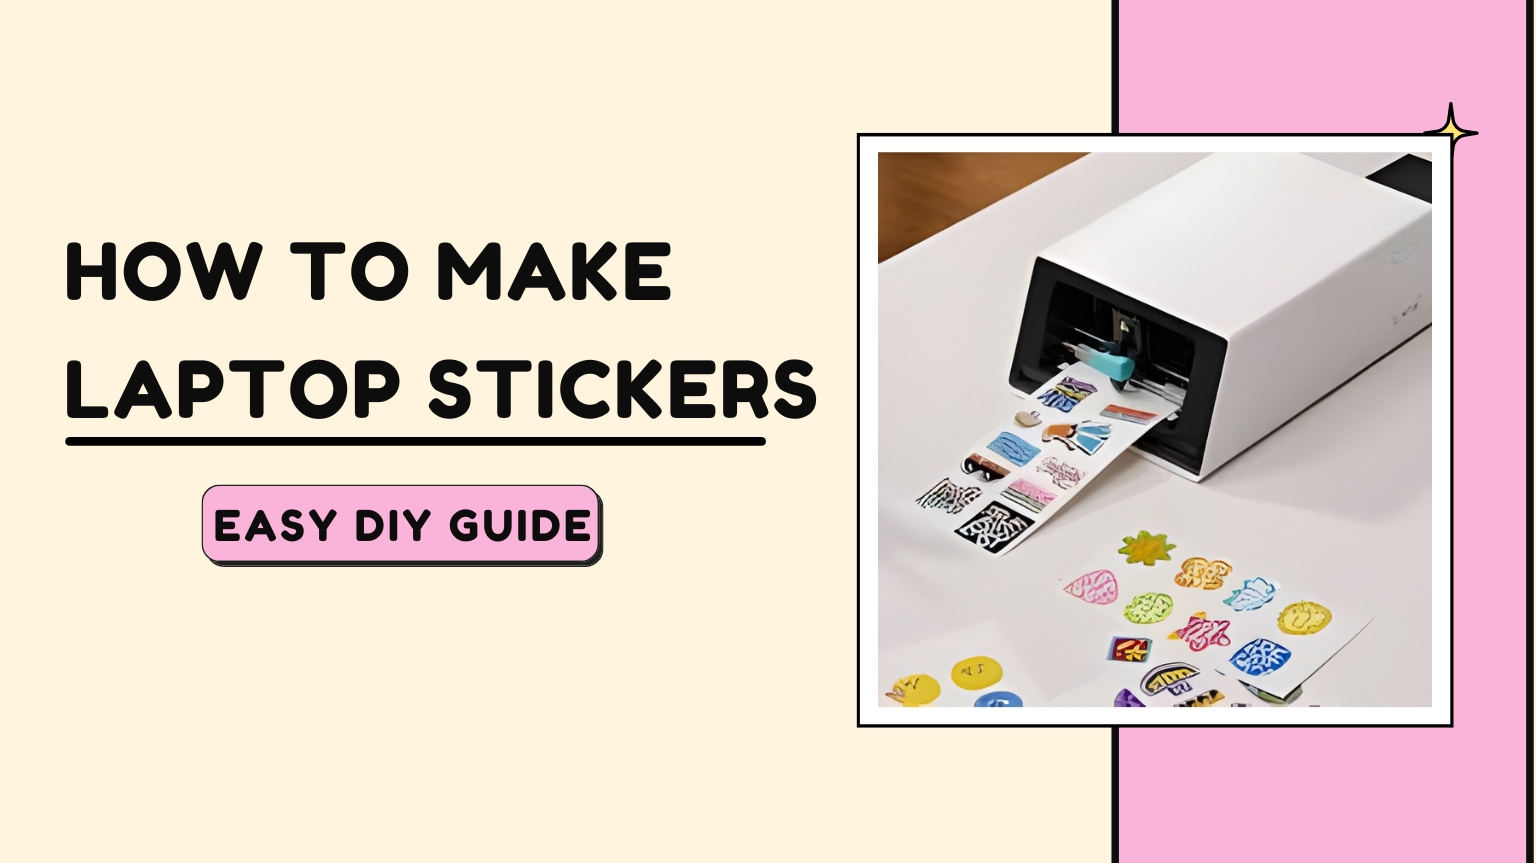
Step 4: Cut Out the Stickers
You can cut the stickers using:
- Scissors (for simple shapes)
- Craft knives
- Cutting machines like Cricut or Silhouette
Smooth, clean edges make your stickers look polished and store-bought.
Step 5: Apply Your Laptop Sticker
Now comes the fun part!
Peel the backing and apply your sticker to a clean laptop surface.
Press firmly to remove any air bubbles.
That’s i—you’ve learned how to make laptop stickers quickly and easily!
Pro Tips for Making High-Quality Laptop Stickers
- Use vinyl waterproof sticker paper for premium results.
- Always keep your printer heads clean.
- Save designs in PNG format for transparent backgrounds.
- Create multiple sticker sizes on one sheet to save material.
- Test durability by sticking one on an old surface first.
Conclusion
Learning how to make laptop stickers is simple, fun, and highly rewarding. With just a few tools and a bit of creativity, you can design stickers that reflect your personality or promote your business. Start experimenting today and turn your laptop into a unique canvas!