
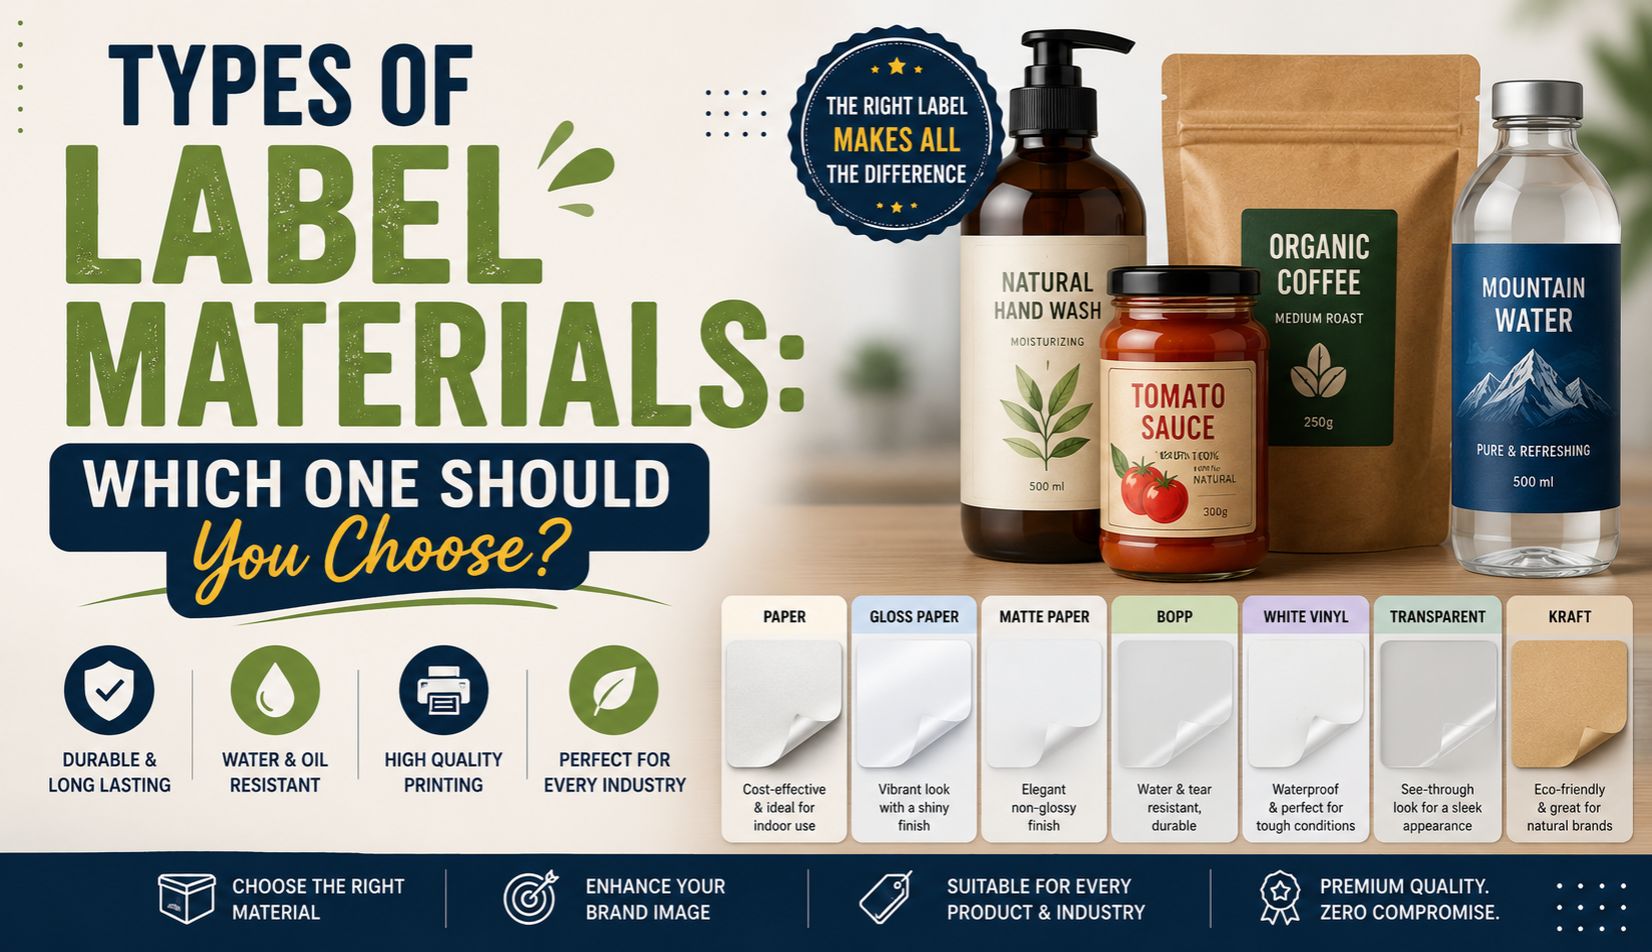
Most Brands Pick a Label Material Almost by Accident, and It Usually Costs Them a Reprint Later
Ask ten small business owners how they chose their label material and maybe two will give you an actual reason. The rest just went with whatever the first printer quoted, or whatever looked fine on a sample sheet under office lighting. That gap is where a lot of expensive reprints come from.
Material choice isn’t a footnote in label design. It decides whether your label survives a fridge, a delivery truck, monsoon humidity, or six months sitting on a shelf without curling at the corners. Design can be flawless and still fail if it’s printed on the wrong stock.
This piece breaks down the main label material types in plain terms, when waterproof labels actually earn their higher cost, where transparent labels work brilliantly or fall apart, and how to think through the decision before committing to a few thousand units.
Fast Fact: label material decisions get far more expensive to fix after printing than before it. A five-minute conversation with your printer upfront usually costs less than one failed batch.
What Actually Changes When You Switch Materials
Two labels can carry the exact same design file and behave completely differently once printed, purely because of the material underneath. That’s the part a lot of first-time brand owners miss when they’re focused entirely on the artwork.
Material affects four things mainly: how the label handles moisture, how it looks under different lighting, how long it lasts without fading or peeling, and how much it costs per unit at your production volume. Get one of these wrong and the design underneath barely matters.
There’s also an application side to this. Some materials go on by machine during high-speed production runs. Others get applied by hand, which matters a lot for smaller batch sizes or handmade product lines that can’t justify industrial labeling equipment.
A short list of what to actually check before locking in a material:
- Will the product get wet, refrigerated, or exposed to condensation regularly
- Does the label need to survive rough handling during shipping or delivery
- Is the brand going for a premium finish or a straightforward, functional look
- What’s the per-unit cost at the actual quantity being printed, not a small sample run
- Does the chosen printer or applicator actually support this material at scale
Quick Point: the material question isn’t separate from the design question. They need to get decided together, ideally before final artwork gets locked.
Paper-Based Labels and Where They Still Make Sense
Paper is still the most common label material out there, mostly because it’s cheap and prints beautifully with sharp detail and rich color. For products that stay dry and get sold at room temperature, paper remains a perfectly sensible default.
The catch, and it’s a real one, is moisture. Standard coated paper labels start bubbling or peeling fairly fast once they hit condensation, a wet hand, or a refrigerated shelf. That makes them a poor fit for drinks, bathroom products, or anything stored cold.
Where paper genuinely shines is dry goods. Spice jars, dry snacks, candles, most cosmetics that don’t sit in a shower. The print quality tends to be excellent, and the cost stays low even at smaller order quantities, which matters a lot for newer brands watching every rupee.
A few things worth knowing about paper labels specifically:
- Coated paper gives sharper print detail than most synthetic alternatives
- Lamination can add some moisture resistance, though it’s not a full fix
- Cost per unit is usually the lowest across all common label materials
- Not recommended for anything refrigerated, outdoor, or regularly handled wet
Waterproof Labels: When Regular Paper Just Won’t Survive
Waterproof labels are built from synthetic materials, usually a polypropylene or vinyl base, specifically to resist moisture, condensation, and rough handling without peeling, bubbling, or fading. They cost more per unit than paper, but for the right product, that cost is unavoidable.
Anything that gets refrigerated, sold from an ice box, or handled with wet hands needs this category of material as a baseline, not an upgrade. Beverage brands, ice cream tubs, bathroom and shower products, anything sold at outdoor stalls exposed to weather, all of it lives or dies on whether the label survives contact with water.
There’s a durability angle beyond just moisture too. Waterproof labels generally hold up better against UV fading, scuffing during transport, and the general wear of sitting in a cooler being picked up and put back repeatedly by dozens of shoppers over weeks.
What tends to separate a good waterproof label choice from a wasted one:
- Confirm the base material (BOPP or vinyl are common, and behave slightly differently)
- Test the label under actual fridge and condensation conditions, not just a splash test
- Check adhesive strength specifically for the surface, glass, plastic, and metal all grip differently
- Ask about UV resistance if the product will ever sit near a window or outdoor stall
- Compare per-unit cost at your real order volume, since pricing shifts a lot at scale
Fast Fact: a common and expensive mistake is testing a waterproof label with a quick splash of water in the office, then being surprised when it fails after two weeks in an actual commercial fridge. Real testing takes longer than a splash test suggests.
Related reading: Waterproof Labels Manufacturer covers manufacturing specifics for brands that need this material at production scale.
Transparent Labels: The “No Label” Look That Isn’t Actually Simple
Transparent labels use a clear synthetic film so the product or bottle underneath shows through, creating a minimal, almost label-free appearance that’s become popular for premium water, oils, and cosmetics over the past several years. It looks simple. It’s actually one of the harder materials to print well.
The core challenge is contrast. Without a white or opaque backing, text and graphics have nothing solid behind them, which means colors can look washed out or hard to read depending on what’s inside the container. A dark liquid behind a transparent label behaves very differently than a clear one.
Printers typically compensate with a white underprint layer beneath the visible design, essentially printing an invisible white base first so the actual artwork has something solid to sit on. Skip that step and the label often looks faded or inconsistent once applied.
Situations where transparent labels genuinely work well:
- Premium water or oil bottles where the product’s own clarity is part of the visual appeal
- Cosmetic packaging aiming for a minimal, high-end aesthetic
- Products where the brand wants the container shape itself to be the hero, not the label
Situations where transparent labels tend to disappoint:
- Products with inconsistent fill color, since the label’s readability shifts with what’s inside
- High-contrast branding that needs bold, opaque color blocks to read properly
- Budget-conscious runs, since the white underprint step usually adds cost
Related reading: Clear Label Manufacturer goes deeper into production specifics for transparent and semi-transparent label styles.
Foil, Textured, and Specialty Finishes
Beyond the basic paper, waterproof, and transparent categories, a range of specialty finishes exist mainly to signal a premium price point rather than solve a functional problem.
Foil stamping adds a metallic accent, gold, silver, rose gold, usually reserved for logos or key text rather than the whole label, since full-coverage foil gets expensive fast. Embossing creates a raised, tactile texture that reads as premium the moment someone picks up the product, before they’ve even read a word.
Textured stock, kraft paper, linen finishes, and similar options add a tactile, often more natural or artisanal feel. These work well for brands leaning into a handmade or eco-conscious story, though they typically sacrifice some print sharpness compared to smooth coated stock.
Quick comparison of when specialty finishes actually pay off:
- Foil accents work well on premium cosmetics, mineral water, and gifting products
- Embossing suits brands wanting a tactile, high-end unboxing moment
- Textured kraft stock fits artisanal food, candles, and eco-positioned brands
- Skip specialty finishes entirely for high-volume, price-sensitive product lines
A Side-by-Side Look at the Main Options
| Material Type | Moisture Resistance | Typical Cost | Best Suited For |
| Standard coated paper | Low, unless laminated | Lowest | Dry goods, room-temperature products |
| Waterproof synthetic (BOPP/vinyl) | High | Moderate to high | Beverages, refrigerated items, outdoor products |
| Transparent film | Moderate, material-dependent | Moderate, higher with white underprint | Premium water, oils, minimal cosmetic packaging |
| Foil or embossed specialty stock | Varies by base material | Highest | Premium cosmetics, mineral water, gifting |
A second table worth keeping handy, since this question comes up almost as often as the material question itself:
| Consideration | Paper | Waterproof | Transparent |
| Print detail sharpness | Excellent | Good | Good, with underprint |
| Application speed | Fast, standard equipment | Fast, standard equipment | Slightly slower, needs precision |
| Reprint risk if wrong choice | High for wet products | Low | Moderate, contrast issues possible |
Mistakes That Show Up After the Print Run, Not Before
Most material mistakes don’t reveal themselves until the product is already sitting on a shelf or in a fridge, which makes them expensive rather than just inconvenient.
- Choosing standard paper for anything that will be refrigerated or handled wet
- Skipping the white underprint layer on transparent labels, leading to washed-out colors
- Testing waterproof stock with a quick splash instead of real fridge or handling conditions
- Picking foil or embossing on a high-volume, price-sensitive product where the cost doesn’t make sense
- Assuming one material choice works identically across glass, plastic, and metal surfaces
| Mistake | Better Approach |
| Paper label on a refrigerated drink | Switch to waterproof synthetic stock as a default |
| Transparent label with no white underprint | Confirm underprint layer is included in the print spec |
| Splash-testing waterproof labels only | Run a multi-day fridge or handling test before full production |
| Same material across every surface type | Confirm adhesive and material performance per surface separately |
Fast Fact: a five-day fridge test on a small batch almost always costs less than discovering peeling labels on three thousand units already sitting in a distributor’s cold storage.
A Short Process for Picking the Right Material
- Identify how the product will actually be stored and handled, fridge, shelf, outdoor stall
- Rule out unsuitable options early, paper for anything wet, standard stock for anything outdoor
- Decide if a premium finish is worth the added cost for this specific product line
- Request small physical samples from your printer before committing to a full run
- Test samples under real conditions, cold, wet, handled, not just a glance
- Confirm per-unit cost at your actual order volume before finalizing
Quick Point: the cheapest material at sample size isn’t always the cheapest option at production volume. Costs shift in ways that surprise a lot of first-time brand owners.
Final Word
Picking the right label material isn’t the most exciting part of building a product label, but it’s often the difference between a design that holds up and one that peels off a shelf within a week. Waterproof labels, transparent film, standard paper- each solves a different problem, and none of them is universally correct.
The smarter approach is to work backward from how the product will actually be stored and handled, then choose a material that withstands that reality, rather than picking based on cost or first impressions alone. A five-day fridge test costs far less than a few thousand peeling labels already sitting in distribution.
Get the material right first, and the design work that follows has a much better chance of actually surviving contact with the real world.
Reader Questions, Answered
The main categories are standard paper, waterproof synthetic stock like BOPP or vinyl, transparent film, and specialty finishes like foil or embossed stock. Each suits different storage conditions and price points, and the right choice depends heavily on how the product is actually stored and handled.
Waterproof labels make sense for anything refrigerated, sold from an ice box, handled with wet hands, or exposed to outdoor weather. Standard paper labels tend to bubble or peel under these conditions within days, making waterproof stock a necessity rather than an upgrade for these product types.
Transparent labels lack a solid backing, so colors and text can look washed out depending on what’s inside the container. Printers usually add a white underprint layer beneath the design to solve this, which adds a production step and slightly increases cost compared to standard paper.
Yes, generally. Waterproof synthetic materials cost more per unit than standard coated paper, though the difference narrows at higher order volumes. For products that require moisture resistance, the added cost is usually worth it compared to the expense of a failed, peeling-label batch.
Yes, but the effect changes significantly. A transparent label on a dark liquid or bottle behaves very differently than on a clear one, since there’s less contrast for text to stand out against. Testing on the actual filled product, not an empty bottle, is important before finalizing.